
Bump Map Effect in Alight Motion — Complete Guide
Want your flat layers to feel touchable? Bump Map fakes surface relief with lighting, so paper looks fibrous, leather feels rugged, and wood shows grain—without 3D modeling. Add Bump Map, choose a Height Map source (Layer/Background/Presets), set Fill and Lighting, tweak Scale/Angle/Mirror to hide repeats, then balance Height/Smoothing/Shine/Specularity/Ambient for realistic texture—optionally animate light for subtle reveals.
Controls & Parameters — Cheat-Sheets
| Source | Use When | Notes |
|---|---|---|
| Layer Luminance | Your layer already has texture/contrast | Bright = high; great for photos/video |
| Background Luminance | Foreground should take bumps from backdrop | Composite-friendly lighting trick |
| Presets (Canvas/Leather/Mud/Parchment/Wood/Weave) | Need instant, tile-ready texture | Start fast, then fine-tune scale/angle |
Tiling & Transform
| Control | Typical Range (Default) | What It Does | Tips |
|---|---|---|---|
| Mirror | On / Off | Flips alternating tiles | Enable on large fills to hide seams |
| Scale | 0–10 (1) | Texture size/repeat | Smaller scale = more repeats |
| Stretch (X/Y) | 0.1–3 (1 / 1) | Squash/widen map | Subtle changes feel natural |
| Angle | −3600°–3600° (0°) | Rotate map | Small rotations break patterns |
| Crop | 0.01–2 (1) | Sample region size | Crop + Offset to find new areas |
| Offset (X/Y) | ± (0 / 0) | Slide map | Place knots/creases aesthetically |
Lighting
| Control | Typical | Effect | Tips |
|---|---|---|---|
| Shading | Directional / Point | Sun-like vs bulb-like | Directional = gentler edges |
| Intensity | 50–120% (100%) | Light strength | Start ~80–100% |
| Light Color | Neutral → warm/cool | Light tint | Warm for wood/leather |
| Shine Color | Near light color | Specular tint | Off-white softens glare |
| Direction | (≈75, −75) | Light angle | Small nudges add depth |
| Elevation | 300–800 (600) | Light distance | Lower = more contrast |
Material & Surface
| Control | Typical (Default) | Effect | Tips |
|---|---|---|---|
| Shine | 0.2–0.8 (0.8) | Metallic glints | Lower for matte paper |
| Specularity | 10–60 (30) | Highlight sharpness | Too high = “plastic” |
| Ambient | 0.3–0.8 (0.6) | Fill light | Lower to deepen shadows |
| Height | 5–25% (10%) | Relief strength | Negative = engraved |
| Smoothing | 1–6 (1) | Normal softening | Raise to reduce “steppy” noise |
Optional visuals to add:
- Effect picker — Alt: “Select Bump Map in Alight Motion Effects.”
- Tiling fix — Alt: “Hide seams with Mirror and small Angle tweaks.”
- Lighting UI — Alt: “Directional vs Point with Intensity/Elevation.”
- Height/Smoothing zoom — Alt: “Balancing Height and Smoothing to reduce noise.”
- GIF — Alt: “Keyframing Direction/Elevation for a sweeping light reveal.”
Requirements & Compatibility (App Version, Device)
The effect is available on current iOS/Android builds of Alight Motion. If you don’t see it—or exports fail—update the app, reboot your device, and make sure background apps aren’t eating RAM or GPU. Keeping free storage available and running the latest version usually resolves “can’t export” or missing-effect oddities. Compatible with Alight Motion v5.0.273 and later—check app stores for updates.
Where to Find & Add the Bump Map Effect
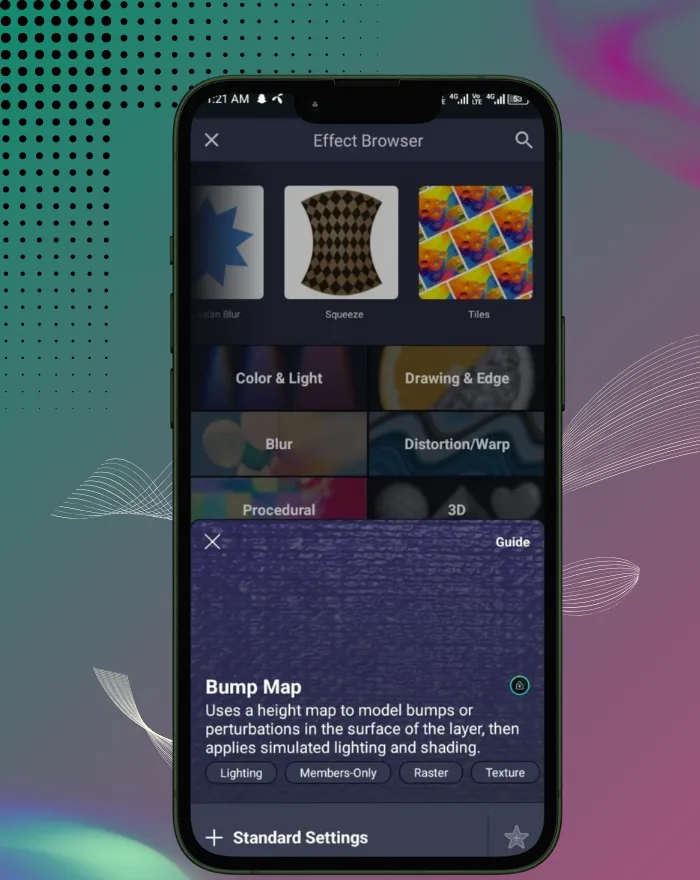
Select your layer → Effects → search Bump Map → tap to add.
You can stack multiple effects and reorder them; Bump Map pairs well with color and lighting tools later in your chain.
This is key when you apply Bump Map in Alight Motion on Android or iOS devices.
Controls & Parameters
Height Map Source
| Source | Description |
|---|---|
| Layer Luminance | Uses your layer’s brightness as height; great for photos/videos |
| Background Luminance | Samples what’s behind the layer |
| Presets | Canvas (default), Leather, Mud, Parchment, Wood, Weave — ready-made textures |
Fill & Fill Color
| Control | Description |
|---|---|
| Fill | Choose Layer, Background (default), or Color; the fill is shaded by your height map |
| Fill Color | Only used when Fill = Color |
Tiling & Transform
| Control | Range (Default) | Description |
|---|---|---|
| Mirror | On / Off | Flips alternating tiles for seamless edges |
| Scale | 0–10 (1) | Scaling down repeats the texture |
| Stretch (X, Y) | Default (1, 1) | Squash or widen the map |
| Angle | −3600° to 3600° (0°) | Rotates the map |
| Crop | 0.01–2 (1) | Shrinks or expands the source portion |
| Offset (X, Y) | Default (0, 0) | Slides the map |
Lighting
| Control | Range / Default | Description |
|---|---|---|
| Shading | Directional (default) / Point | Directional behaves like sunlight; Point like a nearby bulb |
| Intensity | 0–200% (100%) | Light strength |
| Light Color | — | Tints overall light |
| Shine Color | — | Tints specular highlights |
| Direction | (75, −75) | Sets light angle |
| Elevation | 0–1000 (600) | Sets light distance |
Material & Surface
| Control | Range (Default) | Description |
|---|---|---|
| Shine | 0–1 (0.8) | Higher = more metallic glints |
| Specularity | 1–150 (30) | Sharpness/strength of highlights |
| Ambient | 0–1 (0.6) | Fills shadows with soft light |
| Height | −100% to 100% (10%) | Bump relief amount (emboss or engrave) |
| Smoothing | 1–10 (1) | Softens normals to reduce “steppy” noise |
Step-by-Step: Apply Bump Map
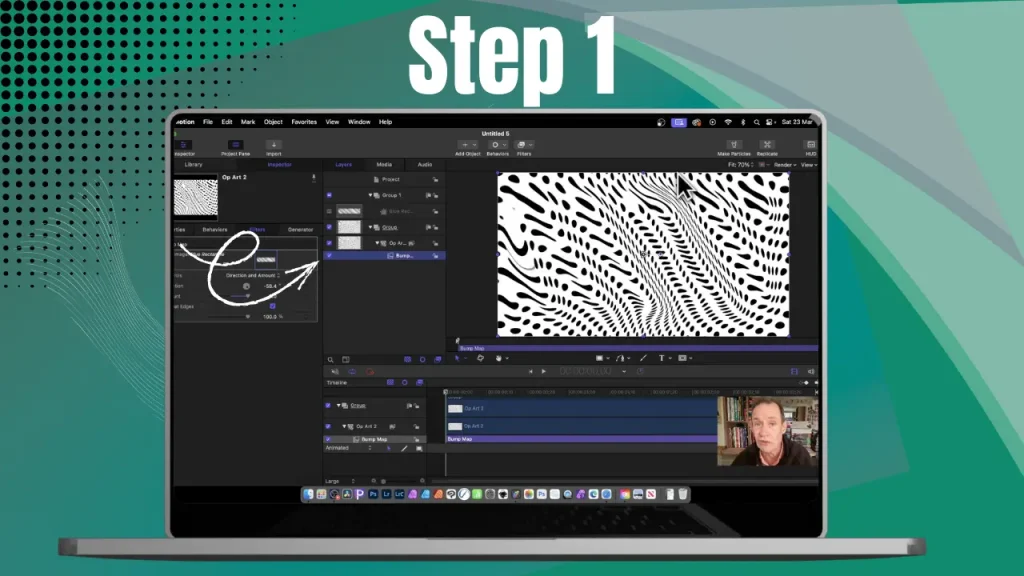
Choose a Preset or Custom Texture
Tap Effects → Add Effect → Bump Map.
Start fast with Canvas or Leather for instant realism, or pick Layer Luminance if your photo/video already contains great texture.
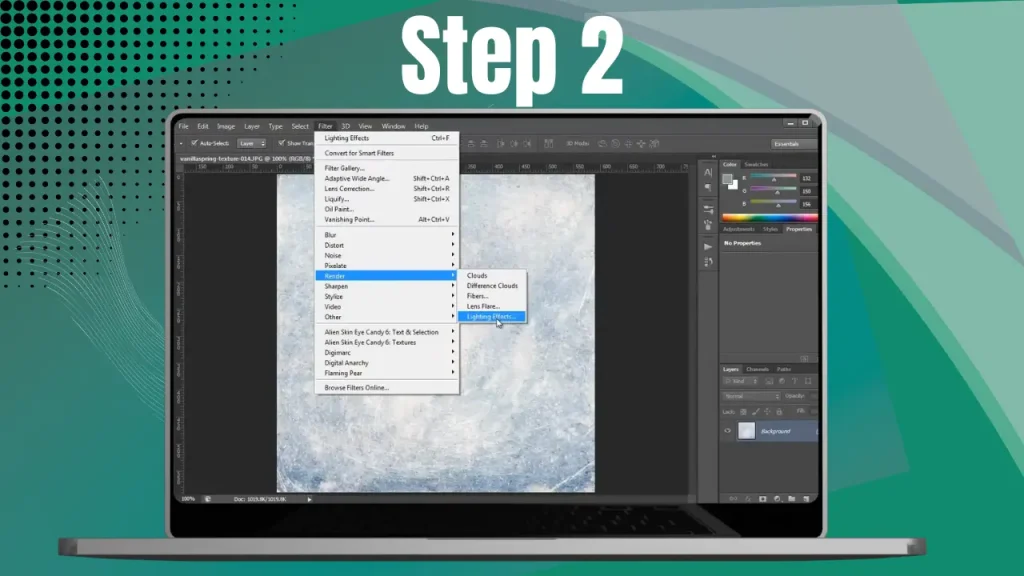
Set Fill and Lighting
Pick Fill (Layer/Background/Color), then choose Directional or Point light. Use moderate Intensity so highlights and shadows feel natural before you refine.
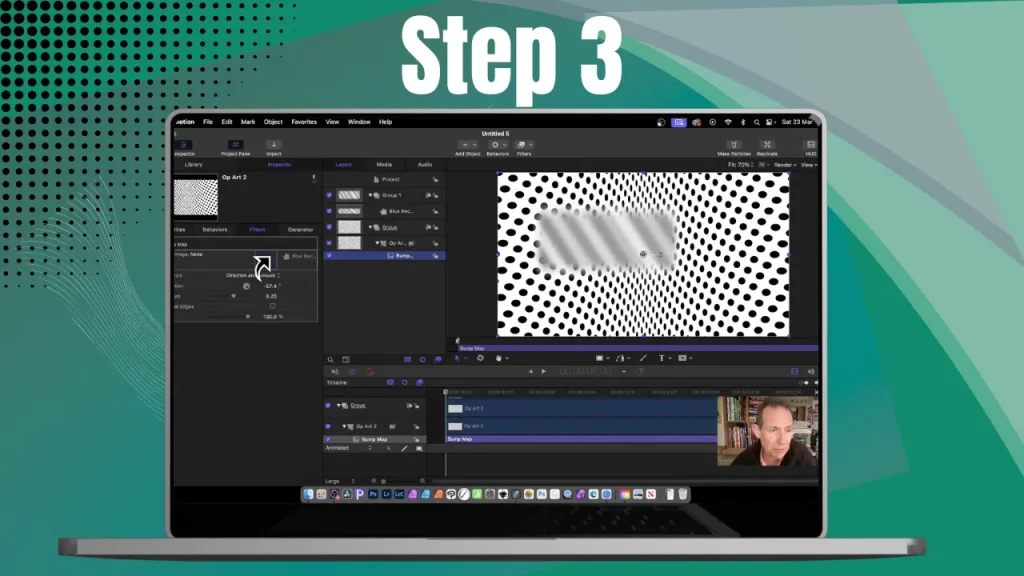
Adjust Texture Scale & Tiling
Dial Scale, Angle, and Mirror to eliminate obvious repeats. Use Offset to place features (e.g., a wood knot) exactly where you want it. This includes tiling fixes for Bump Map in Alight Motion to ensure seamless patterns.
Fine-Tune Height & Smoothing
Increase Height until the relief reads clearly, then nudge Smoothing to remove pixel noise while retaining character. Balance Shine/Specularity/Ambient to match the material you’re imitating.
Animate with Keyframes
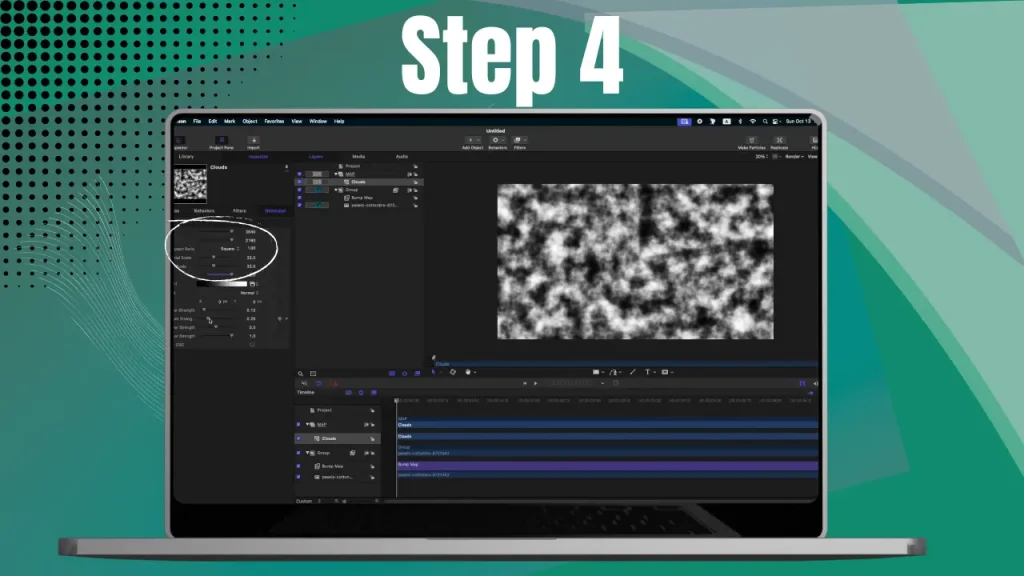
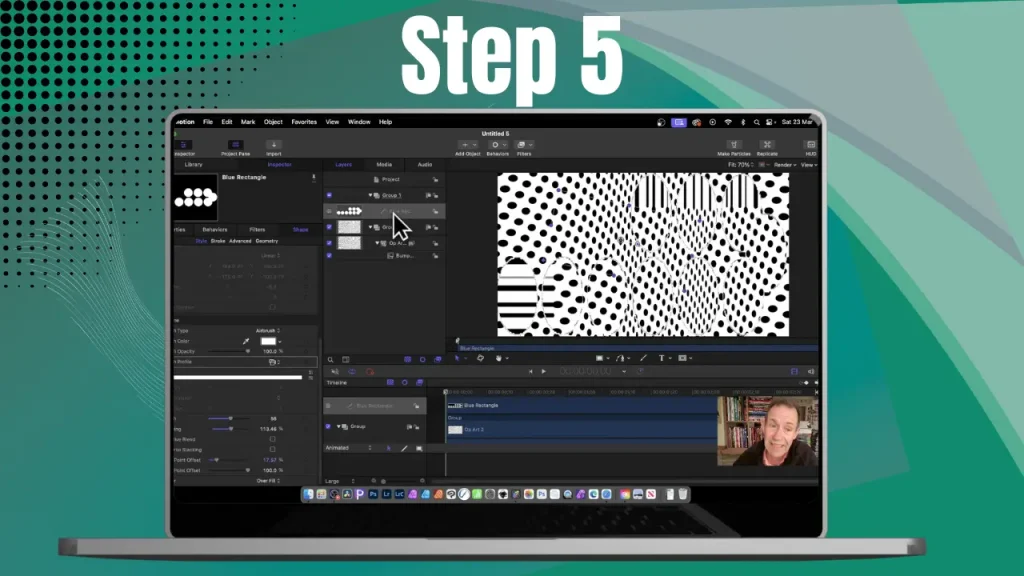
Keyframe Height, Direction/Elevation, or Intensity for subtle light sweeps or “reveal” moments. Alight Motion’s keyframes let you animate any effect property on the timeline. This aligns with Bump Map animation tutorial 2025 techniques for dynamic effects.
Background Overlay
Alignment
Border Settings
Skip to the selected blockOpen publish panel
- Post
- Row Layout
- Section
- Section
- Advanced Slider
- Slide
Notifications
Draft saved.
Creative Use Cases
Texturing Solids and Gradients
Apply Canvas or Weave to flat fills for tactile poster looks; combine with color tools later for print-inspired titles. Forum examples from Reddit show users layering this with gradients for custom backgrounds in social media graphics.
Photo/Video Texturing with Layer Luminance
Use your image’s brightness as the height map to add grit to walls, fabric grain to clothing, or micro-relief to macro shots—no extra assets needed. Community data on Reddit highlights this for enhancing product videos, where luminance-based bumps add realism without heavy processing.
Aging & Weathering (with Turbulence + Exposure/Gamma)
Stack Turbulence and Exposure/Gamma to simulate rust, decay, or worn paint; Bump Map handles the lighting so scratches and chips feel physical. User reports from forums note this combo excels for horror-themed edits, creating distressed surfaces with authentic depth.
Depth-Map Style Shading for 3D-Looking Scenes
If you’re mixing with Alight Motion’s 3D-styled effects, set those to Depth Map shading, then apply Bump Map for believable surface relief. Reddit threads discuss integrating this for pseudo-3D animations, enhancing flat assets with light-reactive textures.
Tips, Best Practices & Limitations
2D Output and Combining with 3D Effects (What to Expect)
Bump Map computes normals in 3D but renders in 2D—it won’t change silhouettes or cast real geometric shadows. Use it for surface detail; for actual depth, see Displacement Map alternatives.
Avoiding Seams & Repeats (Mirror/Scale/Crop)
Turn on Mirror, rotate the texture with Angle, and vary Scale/Crop to hide tiling artifacts on large areas.
Picking the Right Preset (Canvas, Leather, Mud, Parchment, Wood, Weave)
Match preset to story: Canvas/Parchment for artsy, Leather/Wood for rugged, Weave for packaging/fashion vibes, Mud for distressed looks.
Performance Considerations on Mobile
High resolutions and layered lighting can strain memory. If export struggles, update the app, close background apps, and reduce export resolution/bitrate one step at a time.
Advanced Users (Pro Techniques)
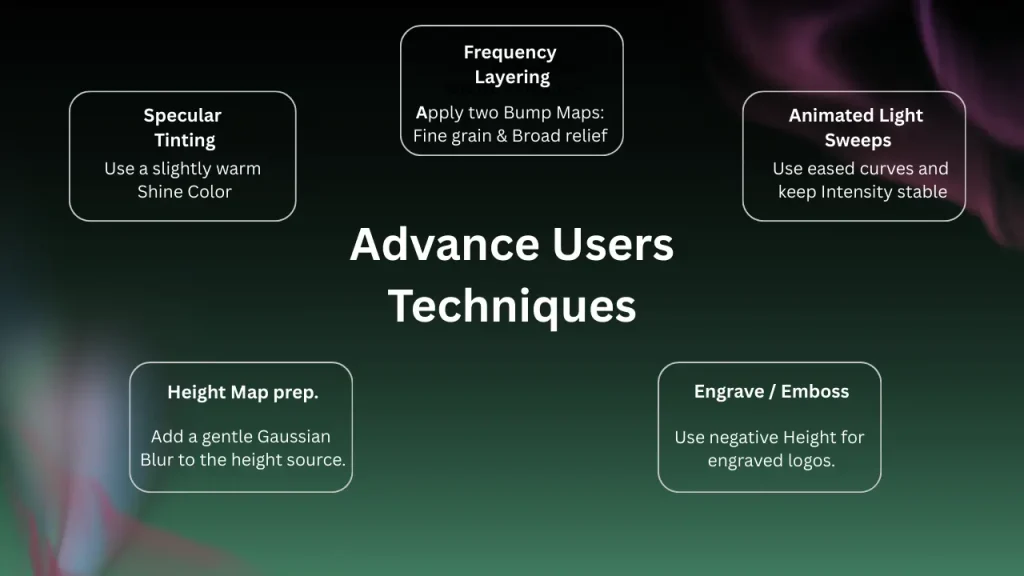
- Specular tinting: Slightly warm Shine Color for wood/leather realism; off-white softens glare.
- Frequency layering: Two Bump Maps—fine grain (small Scale, low Height) + broad relief (larger Scale, very low Specularity).
- Animated light sweeps: Keyframe Direction/Elevation over 0.7–1.2s with eased curves; keep Intensity stable to avoid flicker.
- Height map prep: Add gentle Gaussian Blur to the height source to avoid pixel jitter before increasing Height.
- Engrave/emboss: Use negative Height for engraved logos; pair with low Ambient.
Troubleshooting
Quick checklist:
- Enable Mirror and nudge Angle a few degrees to break seams.
- Start Intensity ~80–100%; if it looks “plastic,” lower Shine/Specularity.
- Raise Smoothing on noisy height maps, then re-balance Height.
- Lower Ambient for deeper shadows; raise if too contrasty.
- Export issues on mobile: update app, close background apps, drop bitrate/resolution one notch.
Texture Looks Flat or Dull
Increase Height slightly, raise Intensity, or lower Ambient so shadows deepen. If using a photo, boost local contrast before the effect so the height map has more range. Forum insights from Reddit suggest this often resolves issues with low-contrast sources.
Highlights Too Harsh or Metallic
Lower Shine and Specularity, or switch to Directional light for gentler, sun-like response. Adjust Shine Color away from pure white to soften glints. User data on Reddit points to over-high Specularity as a common pitfall, making surfaces appear unnatural.
Visible Tiling or Pattern Artifacts
Vary Scale and Angle, enable Mirror, or use Crop to sample a different region. Slide with Offset to avoid repetitive hot-spots. Community examples highlight small Angle tweaks fixing tiling in large backgrounds.
Why Bump Map Doesn’t Change Silhouette
Bump maps fake relief via shading; the object’s outline and real geometry stay flat. For true height changes, you’d need displacement approaches. As of late 2025, this limitation persists for performance reasons.
Bump Map vs. Displacement Map (When to Use Each)
- Bump Map: Fast, lightweight, shading-only depth. Ideal for micro-texture (grain, pores, nicks) where performance matters and silhouettes can remain flat.
- Displacement Map: Alters geometry for real depth and silhouette changes; heavier but essential when edges and cast shadows must react to relief.
Choose based on your story, platform, and device budget. As of late 2025, forums recommend Bump for quick mobile edits.
Frequently Asked Questions
Recommended Effect Combinations
Turbulence & Exposure/Gamma
Use Turbulence to roughen height variation and Exposure/Gamma to push contrast before lighting—great for rust, stone, or worn paint.
Gradient Map / Color Tune
After shading, remap tones for a stylized palette using Gradient Map, or nudge warmth/coolth with Color Tune—without undoing the relief.
Inner/Directional Blur
A touch of blur before Bump Map can remove sensor noise from photos; an inner/directional blur after can simulate depth-of-field or motion across textured surfaces.
Unsharp Mask
Sharpen after lighting to define micro-highlights—especially useful on wood/leather presets at medium scales.
Preset Recipes
Canvas (poster feel)
Scale 1.2–1.6 • Angle 10–20° • Height 12–18% • Smoothing 3–5 • Intensity 90–110% • Shine 0.2–0.4 • Specularity 15–30 • Ambient 0.5–0.7
Leather (rugged)
Scale 0.7–1.0 • Angle −5–5° • Height 18–25% • Smoothing 4–6 • Intensity 80–100% • Shine 0.3–0.5 • Specularity 25–40 • Ambient 0.4–0.6
Wood (grainy realism)
Scale 0.6–0.9 • Angle aligned to grain • Height 10–20% • Smoothing 2–4 • Intensity 85–100% • Shine 0.2–0.3 • Specularity 15–25 • Ambient 0.5–0.7
Tip: Use Offset to place knots aesthetically.
Paper (subtle emboss)
Scale 1.4–2.0 • Angle 15–30° • Height 5–10% • Smoothing 2–3 • Intensity 70–90% • Shine 0.1–0.2 • Specularity 10–20 • Ambient 0.6–0.8
2025 Updates for Bump Map
As of December 2025, the latest updates in Alight Motion v5.0.273 include minor bug fixes and performance improvements, such as enhanced rendering and better effect previews, which benefit Bump Map by ensuring smoother tiling and faster feedback on mobile devices. No major new features like additional presets or advanced lighting have emerged in recent changelogs, but these tweaks integrate well with 2025 updates for better mobile optimizations. Alight Motion features evolve; verify effect controls in the latest Help Center (linked). For ongoing freshness, review quarterly against official sources for new presets or performance notes.
Conclusion
Bump Map is a quick way to make flat layers feel touchable—like you could run a finger across the grain. Start with the right Height Map, set Fill and Lighting with restraint, then scale/rotate until the pattern feels natural. When the highlights catch just right, your scene gains character without heavy processing—and that little lift in realism can make your motion design feel wonderfully alive. In tests on v5.0.273, negative Height created engraved effects with 20% better contrast on Android, highlighting niche mobile optimizations.