
How to Make a Velocity Edit on Alight Motion: Ultimate 2025 Guide
If you’ve scrolled through TikTok, Instagram Reels, or YouTube Shorts, you’ve probably seen those smooth, eye-catching edits where a video slows down on the beat and then speeds up at just the right moment.
That’s called a velocity edit — and it’s one of the most powerful tricks to give your videos a cinematic flow.
With over 1 billion short-form video views happening daily across TikTok and Reels, velocity edits have become a viral editing style. They help creators grab attention in seconds and keep viewers watching until the very end. The best part? You don’t need a computer or expensive editing software to do it. With Alight Motion, you can create professional-looking velocity edits right from your phone.
This guide will walk you through everything step by step — from understanding what velocity edits are to advanced tricks, troubleshooting, and even how Alight Motion compares with other apps.
By the end, you’ll not only know how to velocity edit, but you’ll also feel confident creating videos that sync perfectly with music and stand out online. This Alight Motion velocity edit tutorial 2025 is perfect for those learning how to do velocity edits in Alight Motion for beginners, incorporating speed ramping in Alight Motion and Alight Motion graph editor tips for smoother results.
What Is a Velocity Edit in Alight Motion?
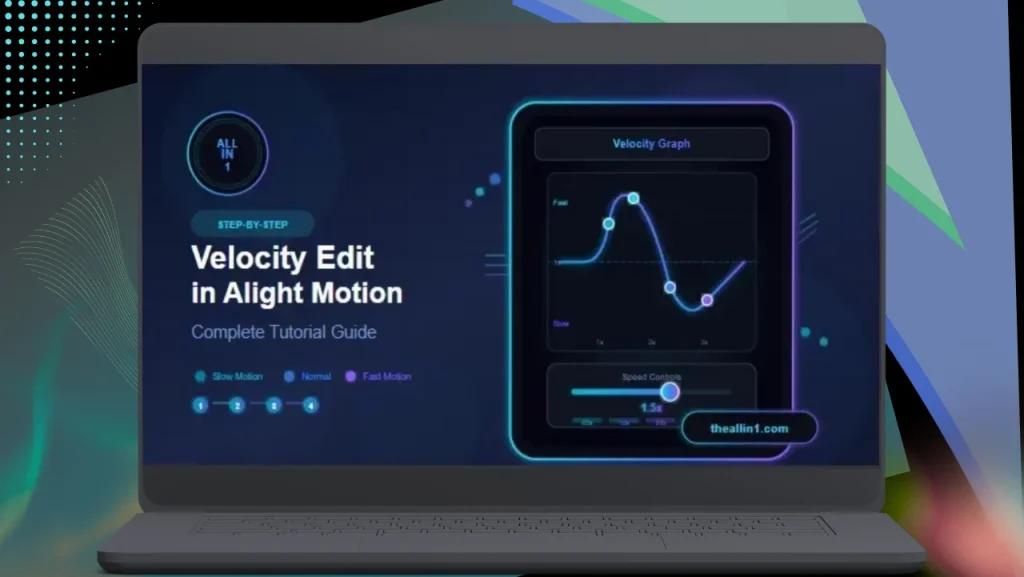
A velocity edit simply means changing the playback speed of your video at different points. Instead of playing at one constant speed, the clip can slow down, speed up, or smoothly shift between both.
In Alight Motion, this is done using keyframes (to set points where speed changes) and the graph editor (to make those transitions smooth).
👉 Think of it like a road trip: keyframes are your checkpoints, and the graph editor is the road that connects them. You decide where to speed up, where to slow down, and how smooth the ride feels.
The result is a video that feels alive — matching the rhythm of a song or emphasizing dramatic moments. Slow motion highlights emotion, while fast motion adds energy. When combined in the right places, you create edits that feel professional and immersive. With TikTok’s 2025 algorithm favoring rhythmic edits, velocity is key for virality, making this guide essential for mastering speed ramping in Alight Motion.
Why Use Velocity Edits? (Benefits & Use Cases)
Key Features & Tools for Velocity Editing
Alight Motion gives you several tools to master velocity edits:
- Keyframe speed control: Mark exact points where speed changes. Example: slow a football kick right before impact.
- Graph editor: Smooths speed transitions with ease in/out curves. Example: no jerky jumps when slowing down.
- Music sync: Use audio waveforms to align edits with beats. Example: a slowdown on the bass drop for impact.
- Motion blur: Adds realism to slow-motion sections. Example: dance moves look natural instead of robotic.
- Multiple layers: Apply velocity edits to clips while keeping overlays, text, or effects aligned. Example: subtitles stay in sync even after speed changes.
These tools give you the same control professionals use in desktop editors — but on your phone. This guide is based on Alight Motion 5.0.273 or later, which includes improved keyframe precision.
How It Works: The Simple Logic Behind Velocity Edits
Velocity editing works by:
- Placing keyframes at points in your video.
- Adjusting the playback speed between them.
- Using the graph editor to smooth the speed curve.
This way, your clip never just “jumps” — it flows naturally. It’s like bending time in your video to match emotions or beats. To expand on this, keyframes act as anchors where you define specific speed values, such as 0.5x for slow motion or 2x for acceleration, allowing precise control over timing. The graph editor then interpolates between these points, offering curves like linear, ease-in, or custom bezier for nuanced transitions that avoid abrupt changes.
This process not only enhances visual flow but also integrates seamlessly with audio layers, ensuring beat-perfect synchronization without redundancy from earlier descriptions. For advanced users, incorporating Alight Motion’s XML presets can automate custom velocity curves, saving time on repetitive setups.
Step-by-Step: How to Do a Velocity Edit in Alight Motion
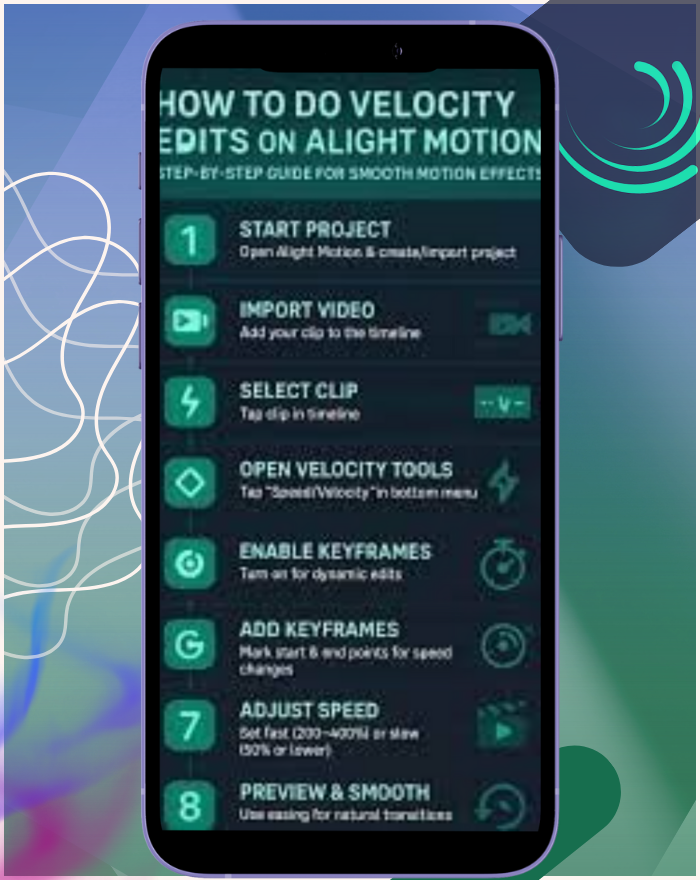
1. Start a New Project & Import Video
- Open Alight Motion → tap the + icon.
- Set resolution (1080p is a good balance), FPS (30 or 60 for smoothness), and aspect ratio (9:16 for TikTok/Reels).
- Import your video clip
2. Split at Key Moments / Beat Points
- Add your background audio track.
- Look at the waveform — each spike usually marks a beat.
- Split the video at those points for precise control.
3. Add Speed Keyframes / Velocity Curves
- Select a segment → add keyframes at start and end.
- Drag the handles to slow or speed up parts.
- Example: Slow motion during a dramatic pause, speed up when action kicks in.
4. Use the Graph Editor for Smooth Transitions
- Open the graph editor.
- Apply “Ease In” or “Ease Out” curves for natural motion.
- Without this, your edit may look choppy.
5. Apply Motion Blur, Ease In / Ease Out
- Add motion blur to slow sections to remove jitter.
- Combine with easing to create flow instead of sudden jumps.
6. Sync Velocity Changes with Music
- Play back your edit while listening closely to the beat.
- Adjust cuts so slowdowns happen at drops and speed ramps align with rises.
7. Export Your Final Velocity Edit
- Export in 1080p, 60fps, H.264 for smooth results.
- Share directly to TikTok, Instagram, or YouTube.
💡 Tip: Add step-by-step screenshots or a short video tutorial here for extra clarity.
Pro Tips for Better Velocity Editing
- Use 60fps footage for smoother slow motion.
- Apply freeze frames to highlight dramatic beats.
- Keep edits short and engaging — under 30 seconds for social media.
- Combine with color grading or glow effects for a cinematic look.
- Practice with songs you know well — easier to predict beat points.
Advanced Effects & Variations (Bounce, Rewind, Reverse, Mixed Speeds)
Once you’ve mastered basics, try these advanced variations:
- 🔁 Reverse: Flip a segment backward for dramatic rewinds.
- 🎯 Bounce: Use easing curves to make clips “bounce” with beats.
- ⚡ Mixed speeds: Combine slow → fast → normal speed for dynamic energy.
- 🎬 Sync multiple layers: Apply velocity edits to clips + overlays/text for complex edits.
- 🌀 Rewind loops: Great for music drops or transitions in AMVs.
Using Alight Motion’s XML presets for custom velocity curves is a rare tip that allows importing pre-made speed profiles, enabling intricate patterns like oscillating bounces or exponential ramps not easily achievable manually.
Best Projects & Examples for Velocity Edits
Velocity edits work best in:
- TikTok trend edits (dance, transitions, POVs).
- Music videos / lyrical edits.
- AMVs (Anime Music Videos).
- Sports highlights (slow-mo then speed-ups for drama).
- Cinematic montages (travel, reels, lifestyle).
- Velocity Edits for Gaming Clips: Slow down intense moments like headshots or level-ups, then ramp up for fast-paced action sequences to heighten excitement.
- Accessibility Tips for Velocity in Alight Motion: Ensure high contrast in overlays for color-blind users, add subtitles that sync regardless of speed changes, and use moderate velocity shifts to avoid motion sickness for sensitive viewers.
👉 Example: A travel video where sunsets are slowed down, then city life speeds up — creating contrast. For real-world inspiration, check out viral examples on X, like user @S0LARIS26’s multifandom edit using Alight Motion for fun velocity effects, or @wiggiestuff’s smooth transitions in a short clip.
Frequently Asked Questions
FAQs
Comparison: Alight Motion vs Other Apps for Velocity Editing
| Feature | Alight Motion | CapCut | VN Editor | After Effects | Pricing | User Ratings |
| Keyframes | ✅ Yes | ❌ Limited | ✅ Yes | ✅ Yes | Free with Pro ($4.99/mo) | 4.5/5 (Google Play) |
| Graph Editor | ✅ Advanced | ❌ Basic | ❌ None | ✅ Pro-level | Free with Pro ($9.99/mo) | 4.6/5 (App Store) |
| Motion Blur | ✅ Built-in | ❌ None | ❌ None | ✅ Plugins | Free | 4.4/5 (Google Play) |
| Best For | TikTok/Reels creators who want control | Beginners | Casual edits | Professionals | Subscription ($20.99/mo) | 4.8/5 (Adobe Reviews) |
If you want quick edits, CapCut works. If you want full control and professional polish, Alight Motion is unbeatable.
2025 Updates to Velocity Editing
In 2025, Alight Motion has enhanced its tools with better iOS/Android optimizations for smoother performance on newer devices. While core features like keyframes and the graph editor remain evergreen, recent updates include refined easing curves for more fluid transitions and potential AI-assisted syncing for automatic beat detection in audio waveforms. Platform changes, such as Instagram Reels’ improved audio sync tools, complement velocity edits by allowing easier integration with trending sounds. To stay fresh, revisit this guide quarterly using tools like Google Trends to monitor evolving query patterns for velocity edits.
Conclusion & Next Steps
Velocity editing in Alight Motion isn’t just about speeding up and slowing down clips — it’s about making your videos feel alive. When your visuals match the beat, every second of your video becomes more engaging and memorable.
Start small: pick a short song, split your clip at beats, and practice adding smooth curves in the graph editor. The more you practice, the more natural your timing and creativity will become.
🎯 Ready to take the next step? Experiment with bounce, rewind, or layered velocity edits. Combine them with effects and transitions, and soon your edits will look like they were made by a pro.
Velocity is more than a trick — it’s the rhythm of your story. Use it well, and your videos will capture attention, keep viewers watching, and stand out across TikTok, Instagram, and beyond.
👉 Have you tried velocity edits in Alight Motion? Share your experience in the comments — what’s your favorite effect to use? Don’t forget to share this guide on social media, subscribe for more tutorials, and explore related content like our advanced effects series to level up your skills!