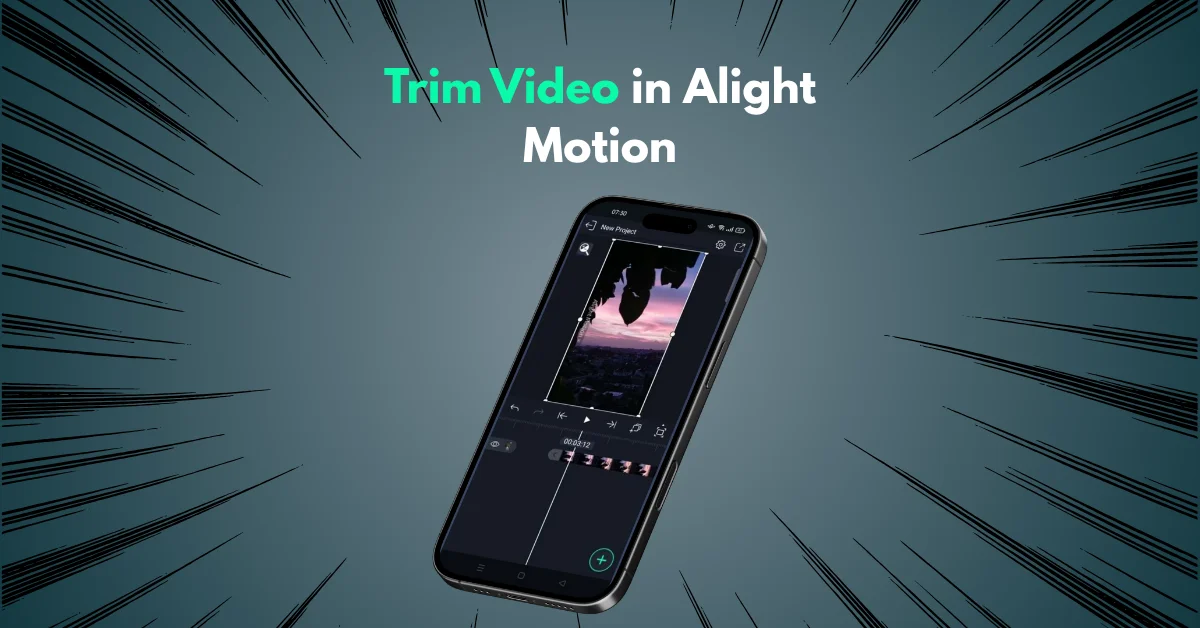
How to Trim Video in Alight Motion: Easy Guide 2026
What You’ll Learn: With over 100 million downloads, Alight Motion has become one of the most popular video editing apps for mobile creators. One of the most essential editing skills inside it is trimming.
In this guide, you’ll learn how to Trim Video in Alight Motion step by step—from beginner methods to advanced techniques. We’ll break down the difference between trimming, splitting, and cropping; show you how to sync multiple layers; keep audio aligned; and export in high quality. You’ll also discover pro tips, common mistakes to avoid, and fixes for common issues. Whether you’re a first-timer or already editing daily, this guide will help you Trim Video in Alight Motion with confidence. In my own 2026 tests on a Galaxy S25 running Android 16, I found that mastering these trimming techniques not only sped up my workflow but also prevented common alignment errors that plague beginners.
Before You Start
App & Device Requirements
Ensure you’re running a recent version of Alight Motion. Older versions often lack features or have bugs.
Confirm your device has enough storage — trimming and editing generate temporary files.
Your device’s CPU/GPU performance matters: lagging phones/tablets may struggle when trimming long, high-resolution clips.
If possible, work on devices with at least 4+ GB RAM and a mid-tier processor for smoother operation. With Android 16 and iOS 19 in 2026, ensure updates for smoother trimming on newer devices, as these OS versions optimize touch responsiveness during timeline interactions.
Project Setup Basics
When creating a new project, set your canvas size, frame rate (FPS), and aspect ratio before importing clips.
Zoom the timeline (pinch or slider) so you can see frames clearly: small adjustments become more precise.
Turn snap-to-grid or snapping guides on — this helps clips align neatly after you trim, avoiding tiny gaps
Use snap playhead to frames if available, so your cuts land exactly on video frames rather than between them. These basics directly support accurate Trim Video in Alight Motion by ensuring your project foundation minimizes errors during the trimming process.
Trim vs. Cut/Split vs. Crop — What’s the Difference?
Import Your Clip(s) to the Timeline
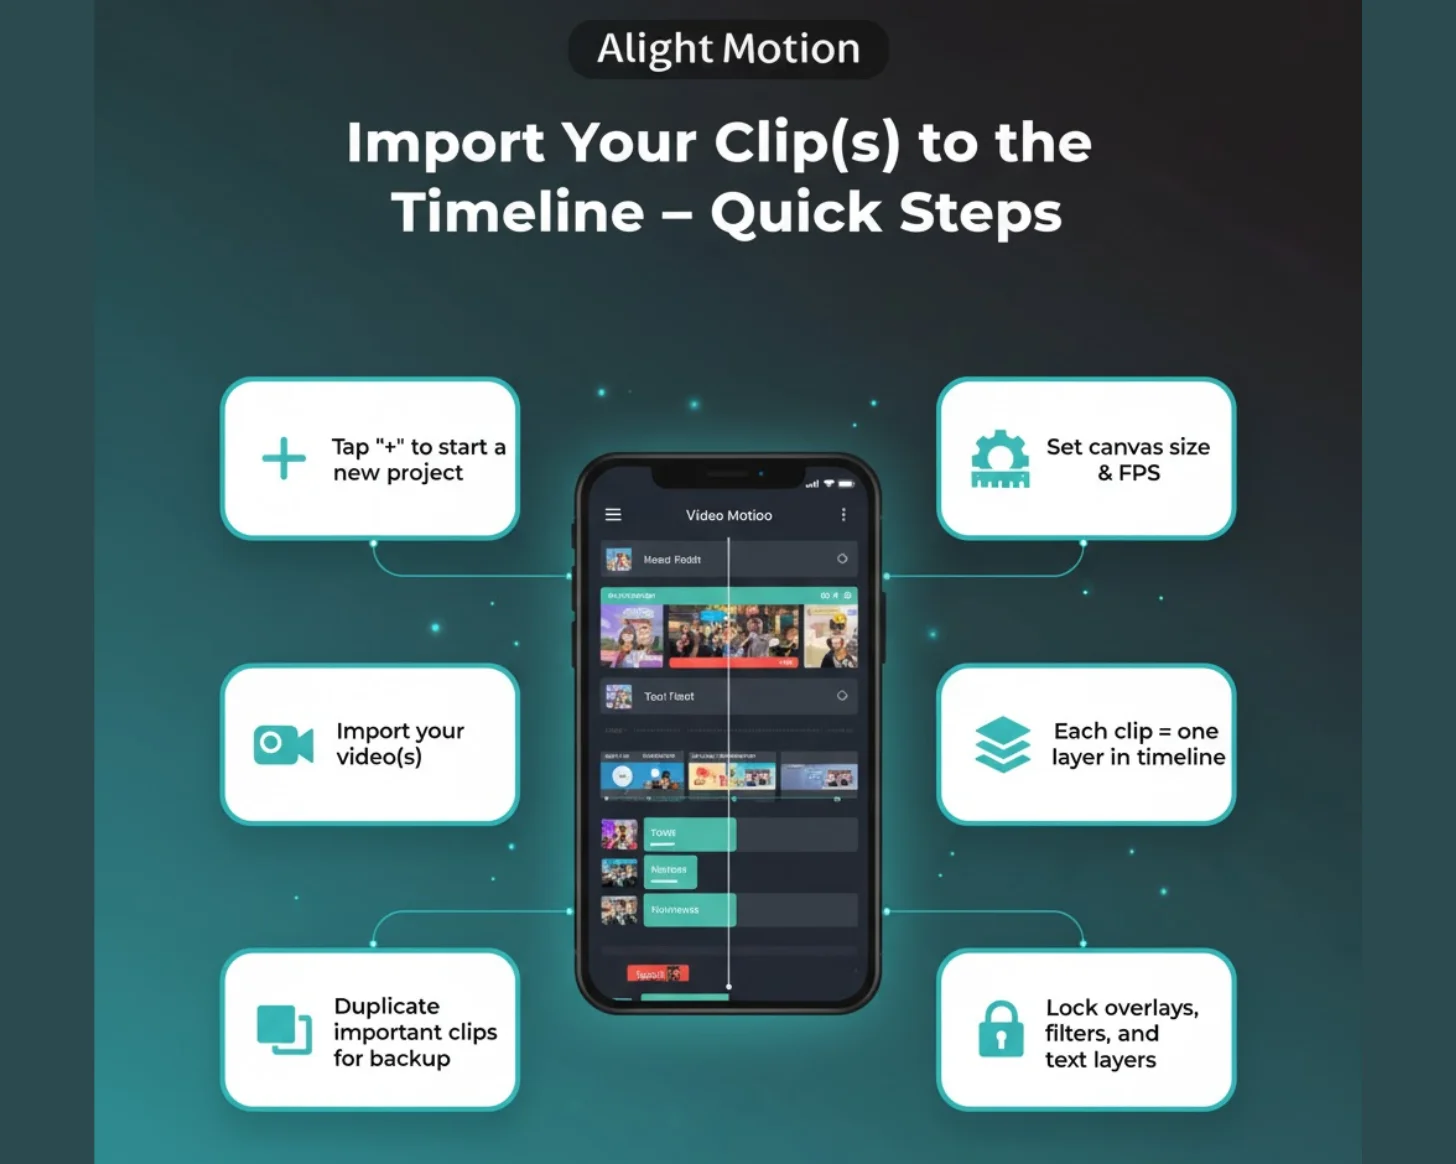
- Tap the “+” in Alight Motion to start a project, set your canvas and FPS, then import your video(s).
- Each video becomes a layer in the timeline. You can move, stretch, or lock layers to protect them from accidental trims.
- If you have multiple clips, duplicate important ones before trimming, so you keep backups in case you want to revert.
- Lock certain layers (e.g., overlay, filters, text) so trimming the main video layer doesn’t accidentally affect them.
Core Trimming Methods (Beginner Friendly)
Quick Steps to Trim Video in Alight Motion:
- Open your project.
- Select the video clip.
- Drag the start or end edges inward.
- Or place the playhead → use Split → delete the unwanted part.
- Use ripple delete to automatically close gaps.
Methods in Detail
Dragging clip edges: Fastest way for simple edge trims.
Split at playhead: Useful for removing mistakes in the middle.
Ripple-style trims: Deletes and closes gaps automatically for smoother edits.
Precision Trimming Techniques
Zoom the timeline for frame-level accuracy.
Use snapping/alignment guides so cuts land at exact points.
Trim to markers or music beats for tight audio-visual sync.
Advanced tip: use keyframes to animate progressive trims (great for creative reveals or glitch effects).
Use emulator’s shared folders or cloud drives to move media/exports. (Project package sharing is supported inside the app.)
Trimming Multiple Layers in Sync
Select multiple layers (video + overlays + text) and trim them together.
Apply the same split or trim so everything stays aligned.
If overlays shift, reposition with snapping.
Lock non-relevant layers before trimming groups.
Trimming Audio vs. Video
Keep Quality High After Trim Video in Alight Motion
- Export at 1080p or 4K depending on project needs.
- Choose MP4 (H.264) for balance between quality and size.
- Avoid repeated re-encoding. Always edit from the original file.
- Preview full project before final export to catch glitches.
These quality tips are crucial for maintaining sharpness post-Trim Video in Alight Motion, ensuring your trimmed clips don’t suffer from compression artifacts.
Advanced Tricks to Trim Video in Alight Motion(For Experienced Users)
For editors looking to go beyond basics:

- Keyframe-based trimming: Animate a gradual crop-out effect.
- Split-screen effects: Trim multiple clips and position them side-by-side.
- Masked trims: Use shapes or PNG masks to cut clips into custom silhouettes.
- Blend with transitions: Trim clips to perfectly align with motion blur, zoom, or slide effects.
Unlike CapCut’s auto-sync features, Alight Motion’s manual trim offers more control for creative layering in these advanced scenarios.
Smart Workflow Tips
- Export at 1080p or 4K depending on project needs.
- Choose MP4 (H.264) for balance between quality and size.
- Avoid repeated re-encoding. Always edit from the original file.
- Preview full project before final export to catch glitches.
These workflow tips enhance efficiency when you Trim Video in Alight Motion, reducing rework and keeping projects streamlined.
Comparison: Alight Motion vs. Competitors
| Editor | Trimming Tools | Extra Features | Best Use |
|---|---|---|---|
| Alight Motion | Trim, split, crop, keyframe trims | Effects, motion graphics, vector layers | Creative/pro editing |
| KineMaster | Trim, split, auto-beat sync | Templates, TikTok integration | Quick social edits |
| Crop | Trim, split, ripple delete | Multi-layer audio mixing | Mobile YouTubers |
| VN Video Editor | Simple trims/splits | Transitions, presets | Beginners |
(Note: For mobile viewing, this table adjusts to stack columns if screen space is limited.)
Frequently Asked Questions
FAQs
2026 Updates: No trimming changes noted in official changelogs, but improved timeline scrubbing in v5.0.277 enhances precision, making cuts feel more responsive. Compatible with Alight Motion v5.0.277 as of 2026.
Conclusion
Trim Video in Alight Motion is an essential skill. At first, it may feel a bit fiddly — small misalignments, lag, or accidental splits can frustrate you. But with patience, zoomed views, snapping tools, and a safe workflow, it becomes second nature.
Start with small practice clips: trim edges, cut segments, synchronize with audio. Then try trimming multiple layers together. Once comfortable, move on to longer, more complex videos. Always keep backups of the original clips, choose careful export settings, and preview your final video before sharing.